Now that you have a good idea of the number of recessed lights and where they're to be installed based on the plan, it's time to destroy your ceiling by cutting a bunch of holes in it with a drywall saw ;) Don't worry, drywall is super easy to patch and you won't be able to notice anything once you're done patching it. The first hole you cut might be a little intimidating, but once you've done a few you'll be able to go at it like a champ.
The first thing you'll want to do is mark the locations of the lights on the ceiling. I remember watching a YouTube video (sorry, didn't bookmark it) of some guy using a laser to measure and mark the locations but since I don't have such high tech tools, I did it the poor man's way.
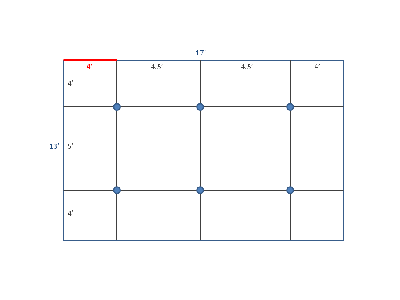
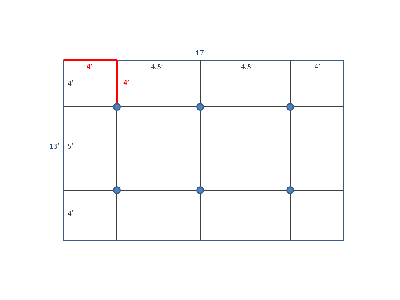
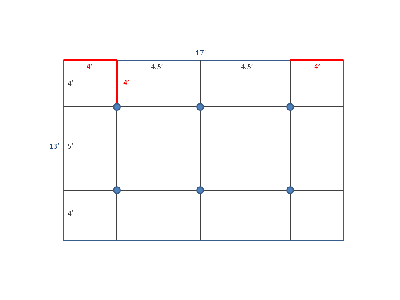
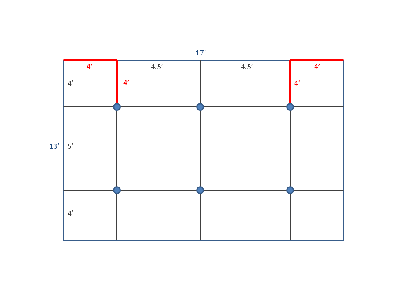
What I did was start at the edges of the ceiling and work my way in to the actual location of where the recessed light is to be installed. Using my living room as an example again:
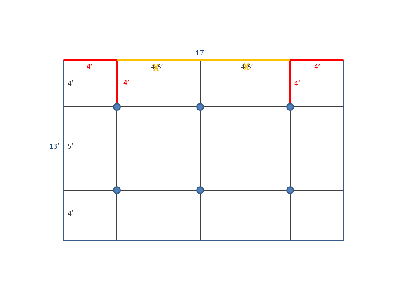
Since my ceiling isn't exactly 17' x 13', I worked my way in from the corners so the lights would be spaced evenly even if the measurements are off by a few inches:
Sure enough, the section that was supposed to be 9' (yellow line below), was more like 9' plus some odd inches:
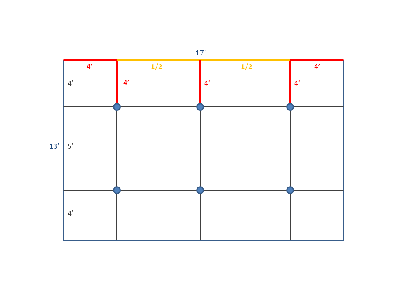
No big deal. Simply find the half way point and measure 4' to the light location:
Before actually cutting the holes, I poked a small hole where the lights are supposed to be installed and used a wire coat hanger to probe the location to make sure there's enough clearance just in case there's something up there the stud finder didn't detect.
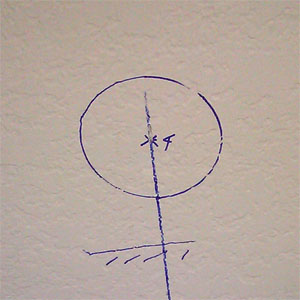
The Halo H99RT recessed light housings I bought came with a paper template for cutting the holes so other brands/models should have the same. Trace around the provided template:
